Help:Images
The syntax for displaying an image is:
- [[Image:{name}|{type}|{location}|{size}|{upright}|{border}|{caption}]]
Only [[Image:{name}]] is required. Most images should use [[Image:{name}||Example image caption]] (and should not specify a size). The other details are optional and can be placed in any order.
- Type
- 'thumb' or 'frame'. Causes image to be displayed with specific formatting (see below).
- Location
- 'right', 'left', 'center' or 'none'. Determines placement of the image on the page. Defaults to 'right'.
- Size
- {width}px or {width}x{height}px, scales the image to be no greater than the given width and height, keeping its aspect ratio.
- Upright
- for use only on images that are taller than they are wide. This scales the image differently, considering both width and height instead of only width.
- Border
- adds a border around the image
- Caption
- Any element which cannot be identified as one of the above is assumed to be caption text.
Examples
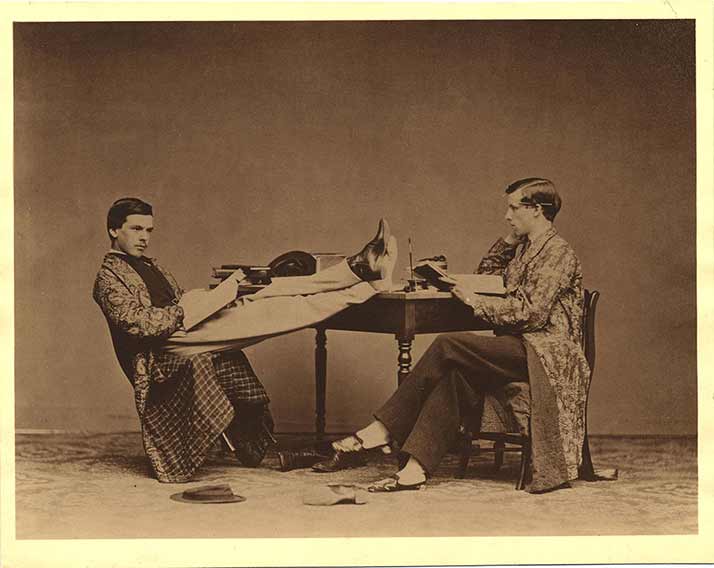
Most images on OutHistory should be inserted in their original size like this:
Use the "frame" keyword after the image name and insert the "none" keyword to prevent the extra spacing from being added to the left margin. Here is an example:
[[Image:Clagssterl2.jpg|frame|none|This is the sample caption]]
Sometimes, the width of the original image may exceed the width of the text column (the example above exceeds it slightly). Below is an example of sizing the image to the text column width. Note that "frame" is only used when displaying the original-size image. If any scaling is involved, "thumb" is needed instead. In this case we want the thumb not to be the default size but a specific size, 635px which is the roughly the column width:
[[Image:Clagssterl2.jpg|thumb|none|635px|This is the sample caption]]
Here is an example of how to scale the image to the column width but not have any borders or captions. The "frame" keyword and caption text have simply been omitted. Note that the image is sized to 650px this time to compensate for the lack of borders.
[[Image:Clagssterl2.jpg|none|645px|]]
If you would like to include only a small version of the image replace the keyword "frame" with "thumb," like this:
[[Image:Clagssterl2.jpg|thumb|This is the sample caption]]
The "thumb" keyword causes the image to be displayed with a frame around it and reduces the image to a thumbnail (thubmnail's size can be changed in user preferences). It also causes text to flow around the image for uninterrupted reading. Users can access the original image by clicking on the thumbnail.
The text above produces:
text text text text text text text text text text text text text text text text text text text text text text text text text text text text text text text text text text text text text text text text text text text text text text text text text text text text text text text text text text text text text text text text text text text text text text text text text text text text text text text text text text text text text text text text text text text text text text text text text text text text text text text text text text text text text text text text text text text text text text text text text text text text text text text text text text text text text text text text text text text text text text text text text text text text text text text text text text text text text text text text text text text text text text text text text text text text text text text text text text text text text text text text text text text text text text text text text text text text text text text text text text text text text text text text text text text text text text text text text text text text text text text text text text text text text text text text text text text text text text text text text.
It is possible to align thumbnails to the right margin instead of the default left. Here is an example:
[[Image:Clagssterl2.jpg|thumb|left|This is the sample caption]]
text text text text text text text text text text text text text text text text text text text text text text text text text text text text text text text text text text text text text text text text text text text text text text text text text text text text text text text text text text text text text text text text text text text text text text text text text text text text text text text text text text text text text text text text text text text text text text text text text text text text text text text text text text text text text text text text text text text text text text text text text text text text text text text text text text text text text text text text text text text text text text text text text text text text text text text text text text text text text text text text text text text text text text text text text text text text text text text text text text text text text text text text text text text text text text text text text text text text text text text text text text text text text text text text text text text text text text text text text text text text text text text text text text text text text text text text text text text text text text text text text.
Image Galleries
Below is an example of how to insert a gallery of image into a page:
<gallery Caption="Sample Caption">
Image:Clagssterl2.jpg
Image:Clagssterl2.jpg|The syntax allows for
Image:Clagssterl2.jpg|easy production of
Image:Clagssterl2.jpg|image galleries.
Image:Clagssterl2.jpg
Image:Clagssterl2.jpg
</gallery>
- Sample Caption
Notes for Power Users
If you are familiar with HTML, you may be tempted to insert images into pages directly by using image HTML tags (<img src="..." alt="..." />). Please use the wiki syntax provided above instead. There are several reasons for preferring the wiki usage.
- Standardized formatting with a border enforces consistency.
- Specifying a size via wiki syntax does not just change the apparent image size using HTML; it actually generates a resized version of the image on the fly and links to it appropriately. This happens whether or not you use size in conjunction with "thumb".
- This means the server does all the work of changing the image size, not the web browser of the user. By having the server do all the work means faster downloading of pages. It also means that larger images can be stored on the server without any slowdown by the browser (especially on dial up telephone lines.) Only the data for the actual size on the page is transmitted.
- From MediaWiki 1.5, the default thumbnail width can be set in the preferences, so it is recommended not to specify the pixel size when using "thumb" keyword, in order to respect the users' preferences (unless, for a special reason, a specific size is required regardless of preferences, or a size is specified outside the range of widths 120–300px that can be set in the preferences).
If you specify a "frame" option the image will not be scaled, and no size specifiers will be in the HTML. The image will be rendered at full size
When there are two or more "size" options ( [[Image:Westminstpalace.jpg|right|50px|80px]] ), only the last one is valid.
Placing Images Outside Text Column
To place an image in the white space to the right and outside of the text column required more complicated syntax, which involves HTML. Use the below example as a guide:
<div style="margin-left: 670px">[[Image:Clagssterl2.jpg|thumb|Sample Caption|]]</div>
text text text text text text text text text text text text text text text text text text text text text text text text text text text text text text text text text text text text text text text text text text text text text text text text text text text text text text text text text text text text text text text text text text text text text text text text text text text text text text text text text text text text text text text text text text text text text text text text text text text text text text text text text text text text text text text text text text text text text text text text text text text text text text text text text text text text text text text text text text text text text text text text text text text text text text text text text text text text text text text text text text text text text text text text text text text text text text text text text text text text text text text text text text text text text text text text text text text text text text text text text text text text text text text text text text text text text text text text text text text text text text text text text text text text text text text text text text text text text text text text text.
And without the borders:
<div style="margin-left: 670px">[[Image:Clagssterl2.jpg|right|200px|Sample Caption|]]</div>
text text text text text text text text text text text text text text text text text text text text text text text text text text text text text text text text text text text text text text text text text text text text text text text text text text text text text text text text text text text text text text text text text text text text text text text text text text text text text text text text text text text text text text text text text text text text text text text text text text text text text text text text text text text text text text text text text text text text text text text text text text text text text text text text text text text text text text text text text text text text text text text text text text text text text text text text text text text text text text text text text text text text text text text text text text text text text text text text text text text text text text text text text text text text text text text text text text text text text text text text text text text text text text text text text text text text text text text text text text text text text text text text text text text text text text text text text text text text text text text text text.
Image Resizing
For Macintosh Users
Option 1
Open Preview
Open an image
Select File
Select Save As
Use slider bar to select between Best and Least
Option 2
Open Iphoto
Open an image
Select File
Select Export
Click radio button for Scale Image No Larger Than
Enter a resolution (example: 800 x 600)
Click Export
Select where to save file and Iphoto will export image to that file.
